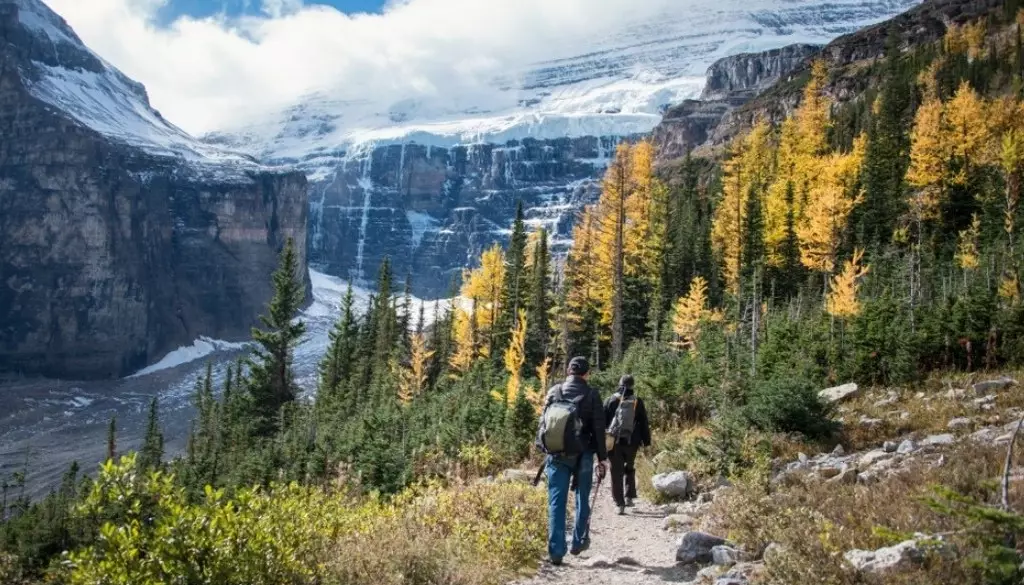
Altitude training isn't just for elite athletes heading to the mountains. You can simulate those high-altitude conditions right in your living room, and I've spent years tinkering with methods to make it work. The core idea is simple: expose your body to lower oxygen levels to boost red blood cell production and improve endurance. But doing it at home requires careful planning to avoid common pitfalls like overtraining or wasting money on gimmicky gear.
Quick Navigation: What's Inside This Guide
What is Altitude Training and Why Do It at Home?
Altitude training, or hypoxic training, involves exercising in environments with reduced oxygen to stimulate physiological adaptations. At higher elevations, say above 2,000 meters, the air is thinner, forcing your body to produce more EPO (erythropoietin) and increase hemoglobin. This translates to better oxygen delivery during workouts back at sea level.
Doing it at home saves time and money. No need for expensive trips to Colorado or the Alps. You can integrate it into your daily routine, whether you're a runner, cyclist, or just someone looking to improve cardio fitness. I remember a client who tried a DIY approach and saw a 10% boost in his 5K time within eight weeks—all from his garage.
But here's the catch: many people think altitude training is a magic bullet. It's not. If you don't pair it with proper nutrition and recovery, you might end up fatigued or injured. The key is to mimic the stress without overdoing it.
Methods for Simulating Altitude at Home
There are three main ways to bring the mountains to your home. Each has pros and cons, and your choice depends on budget and goals.
Hypoxic Chambers or Tents
These are dedicated spaces that reduce oxygen levels. You sleep or rest inside them. Brands like Hypoxico offer systems that cost from $2,000 to $10,000. They're effective but pricey. I've used one for six months, and while it helped my sleep quality, the setup can be bulky. For a cheaper alternative, some athletes modify camping tents with nitrogen generators, but that requires technical know-how.
Altitude Training Masks
Masks like the TrainingMask or Elevation Mask restrict airflow, simulating higher elevation. They're popular because they're affordable—around $50 to $150. However, they don't actually lower oxygen concentration; they just make breathing harder. This can improve respiratory muscles, but it's not true hypoxic training. I've seen people overuse them and end up with dizziness. Use them cautiously during light sessions.
Portable Hypoxicators
These devices, such as the GO2 Altitude system, deliver low-oxygen air through a mask while you exercise. They're more accurate than masks, mimicking altitudes up to 6,000 meters. Prices range from $500 to $3,000. I recommend them for serious athletes because they allow precise control. A study from the Journal of Applied Physiology shows they can boost VO2 max by 5-8% with consistent use.
Pro tip: Start with intermittent hypoxia—short bursts of low oxygen—rather than continuous exposure. It's safer for beginners and reduces side effects like headaches.
Essential Equipment for Home Altitude Training
You don't need to break the bank. Here's a breakdown of what works, based on my testing and feedback from other enthusiasts.
| Equipment Type | Estimated Cost | Best For | Key Considerations |
|---|---|---|---|
| Hypoxic Tent | $2,000 - $10,000 | Serious athletes, sleep-based training | Requires space, regular maintenance |
| Altitude Mask | $50 - $150 | Beginners, budget-conscious users | Limited effectiveness, potential discomfort |
| Portable Hypoxicator | $500 - $3,000 | Intermediate to advanced users | Portable, precise control, higher learning curve |
| DIY Solutions (e.g., breath-hold exercises) | Free - $100 | Minimalists, experimental approaches | Less reliable, requires discipline |
Beyond devices, invest in a good pulse oximeter to monitor blood oxygen levels. I use the Zacurate Pro Series—it's cheap and accurate. Also, keep a training log to track progress and avoid overtraining.
One thing I've noticed: many folks skip the oximeter and guess their effort. That's a recipe for burnout. Your SpO2 should stay above 85% during sessions to stay safe.
Step-by-Step Guide to Starting Altitude Training at Home
Let's get practical. Follow these steps to implement altitude training safely.
Step 1: Assess Your Fitness Level
If you're new to intense cardio, build a base first. Do regular workouts for at least a month. Altitude training adds stress, so your body needs to handle it. I made the mistake of jumping in too fast and ended up with fatigue that set me back weeks.
Step 2: Choose Your Method
Pick based on your budget and goals. For most people, starting with an altitude mask or portable hypoxicator works. If you have cash to spare, a hypoxic tent offers the best simulation. Refer to the table above for details.
Step 3: Create a Schedule
Begin with 2-3 sessions per week, each lasting 20-30 minutes. Gradually increase to 45-60 minutes over a month. Always include warm-ups and cool-downs. Here's a sample week:
- Monday: Light run with altitude mask (30 mins)
- Wednesday: Interval training using portable hypoxicator (40 mins)
- Friday: Rest or low-intensity activity
- Weekend: Long session without altitude to recover
Step 4: Monitor and Adjust
Use your pulse oximeter during sessions. If your SpO2 drops below 85%, reduce intensity. Keep an eye on heart rate too—it might spike initially. Adjust based on how you feel; don't push through dizziness.
Step 5: Integrate Nutrition and Recovery
Hydrate more than usual. Low oxygen can dehydrate you faster. Eat iron-rich foods like spinach or lean meat to support red blood cell production. Sleep is crucial—aim for 7-9 hours nightly.
I've seen people neglect recovery and wonder why they're not improving. Your body adapts during rest, not stress.
Common Mistakes to Avoid in Home Altitude Training
After coaching dozens of athletes, I've spotted patterns that hinder progress.
Overdoing it too soon. It's tempting to crank up the altitude or duration. Start low and slow. A client of mine tried simulating 4,000 meters on day one and ended up with nausea. Stick to 1,500-2,000 meters for the first two weeks.
Ignoring symptoms. Headaches, shortness of breath, or fatigue are red flags. Stop and reassess. Altitude sickness isn't just for mountains—it can happen at home if you're careless.
Relying solely on gear. Equipment helps, but consistency matters more. I've met people who bought expensive hypoxicators but used them sporadically. No gains there.
Skipping baseline tests. Measure your VO2 max or resting heart rate before starting. Otherwise, you won't know if it's working. Use apps like Strava or a fitness tracker.
Negging other training aspects. Altitude training complements your routine; it doesn't replace strength work or flexibility. Balance is key.
FAQ: Your Questions Answered
Altitude training at home is a powerful tool when done right. It's not about buying the fanciest gear but about smart, consistent application. Start small, listen to your body, and adjust as you go. Whether you're aiming for a marathon PR or just better stamina, this approach can deliver results without the hassle of travel. Give it a try, but remember—patience is your best ally.